I have finally made it to the last blog outlining the baby shower I threw. You can read part one discussing miscellaneous details (you would think I would know how to spell miscellaneous without spell check by now!) and/or part two exploring the shower decorations. I know you are all excited to get onto more pictures of Selah, I will have some soon I am sure!
But for now, lets talk about something that everyone can relate to, food. The most important part of any get together.
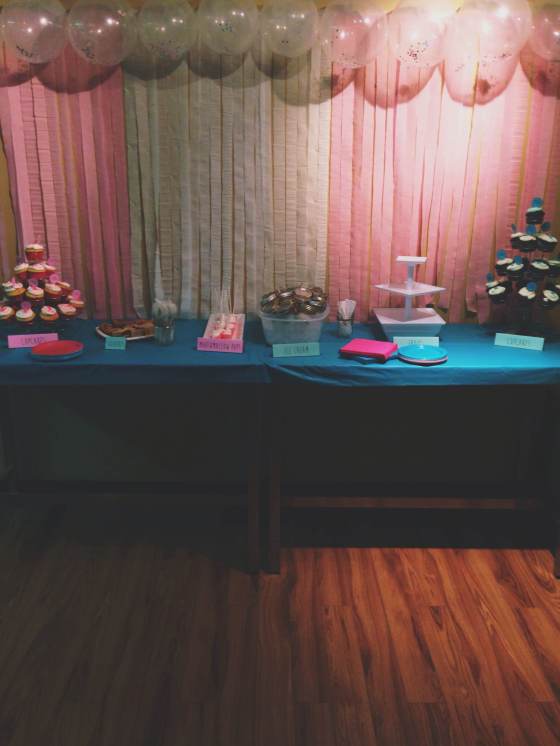
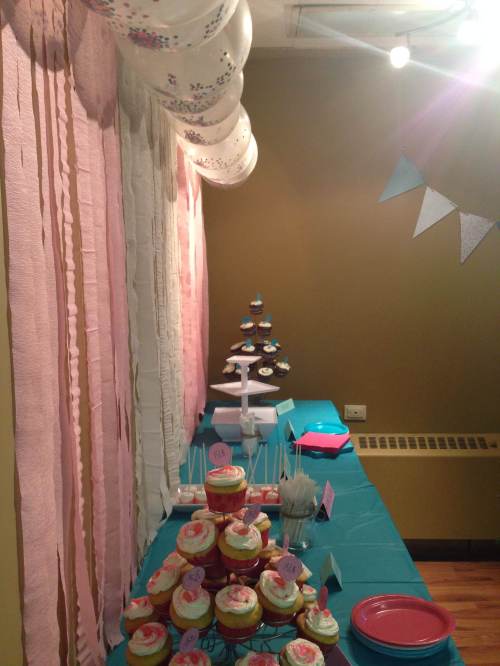
We went with a dessert buffet as the shower was held on a Friday evening. It was nice to be able to provide snacks so guests didn’t have to worry about bringing anything and could enjoy some yummy treats while visiting.
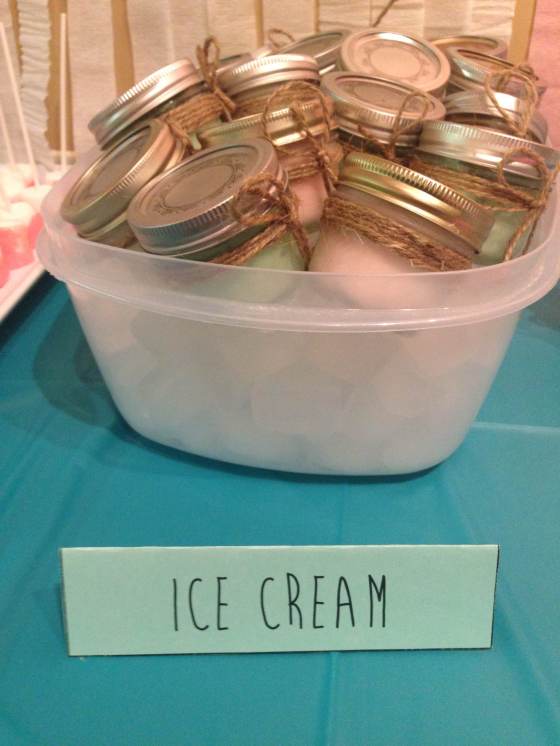
I stole this idea and bought ice cream then scooped it into little mason jars and stuck them in the deep freeze for a couple of days pre party. They were nice and frozen and when put on ice stayed hard for the duration of the event. I finished the colour coordinated ice cream jars off by tying some twine around the jars. It was great to have individual servings of ice cream and not have to scoop ice cream the day of. The only thing I might change next time is I might label the kinds of ice cream in some way or have a more ‘decorative’ bucket to put the ice in.
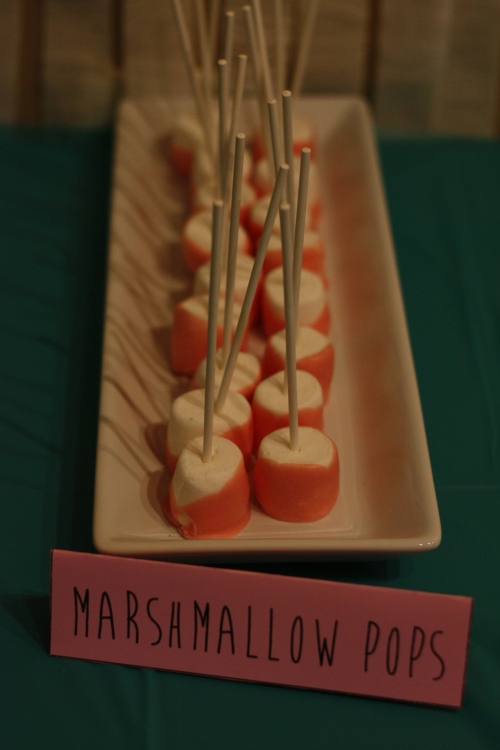
Probably the most popular food item at the party was the easiest to prepare. I made Pink Marshmallow pops and it took no time at all. I took tips from here & here. I used the Wilton candy from Michaels and got the sticks from there too. The chocolate is so easy to melt and work with and seemed to taste pretty good. The pops are an aesthetically pleasing, fun, light, and individual dessert that can be enjoyed by both adults & children. AND seriously, easiest thing in the world to make.
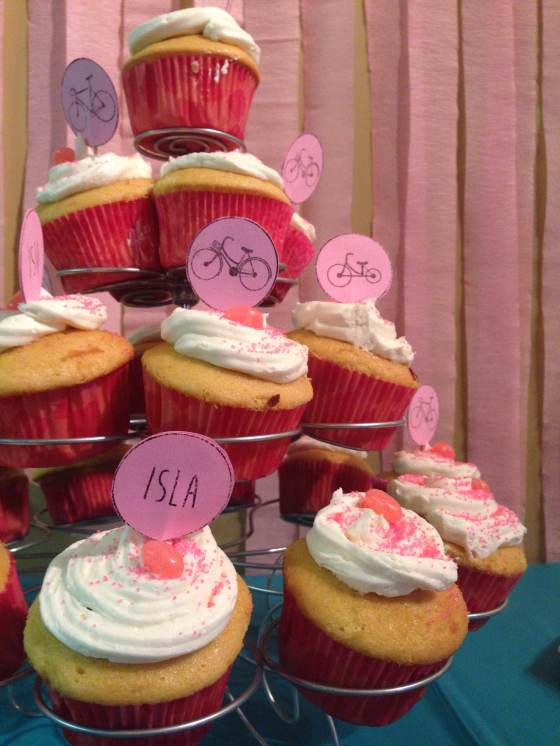
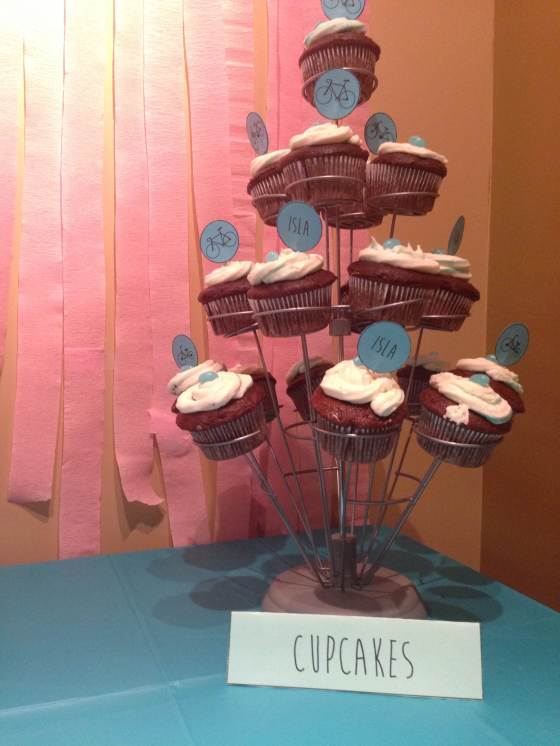
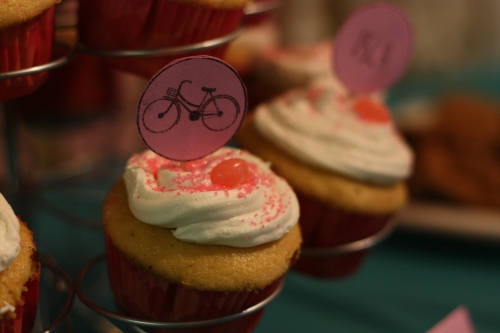
My wonderful friend made some amazing cupcakes to adorn the ends of the tables. While cakes are nice, cupcakes are so practical, easy, and still taste great! They worked out perfect for this occasion and looked cute too. Click here to see how simple the cupcake toppers were.
We also cute up some fruit (which was also good on the ice cream!) and had some squares to snack on. Fruit is always good to have at a party for those who can’t have other sweets for whatever reason.
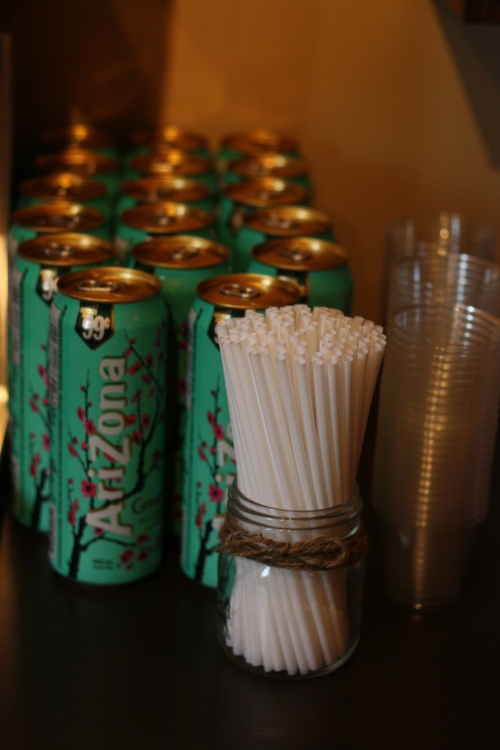
To top it all off we had coffee, tea, juice, water, & Arizona Iced tea (to try and match the colour scheme). Lots of options for the diverse crowd.
And that was that. We made sure to have plates, napkins, forks, spoons, straws, cups, cream, sugar, and all those little details!
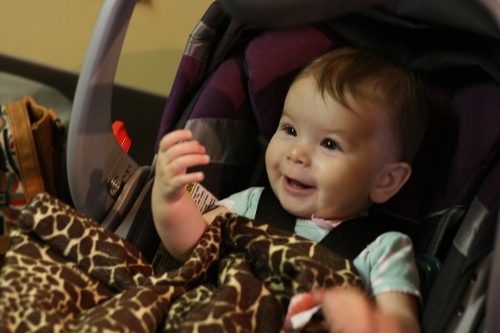
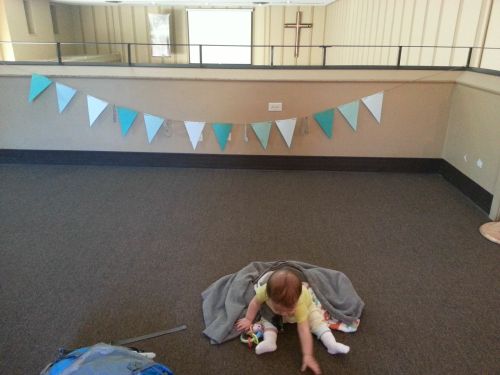
It was such a fun time and I am thankful for the great community of people who could come to support new parents and a beautiful baby girl. Blair, Selah, & I are blessed to be involved in such a caring church so full of new life. Selah is thankful too:
